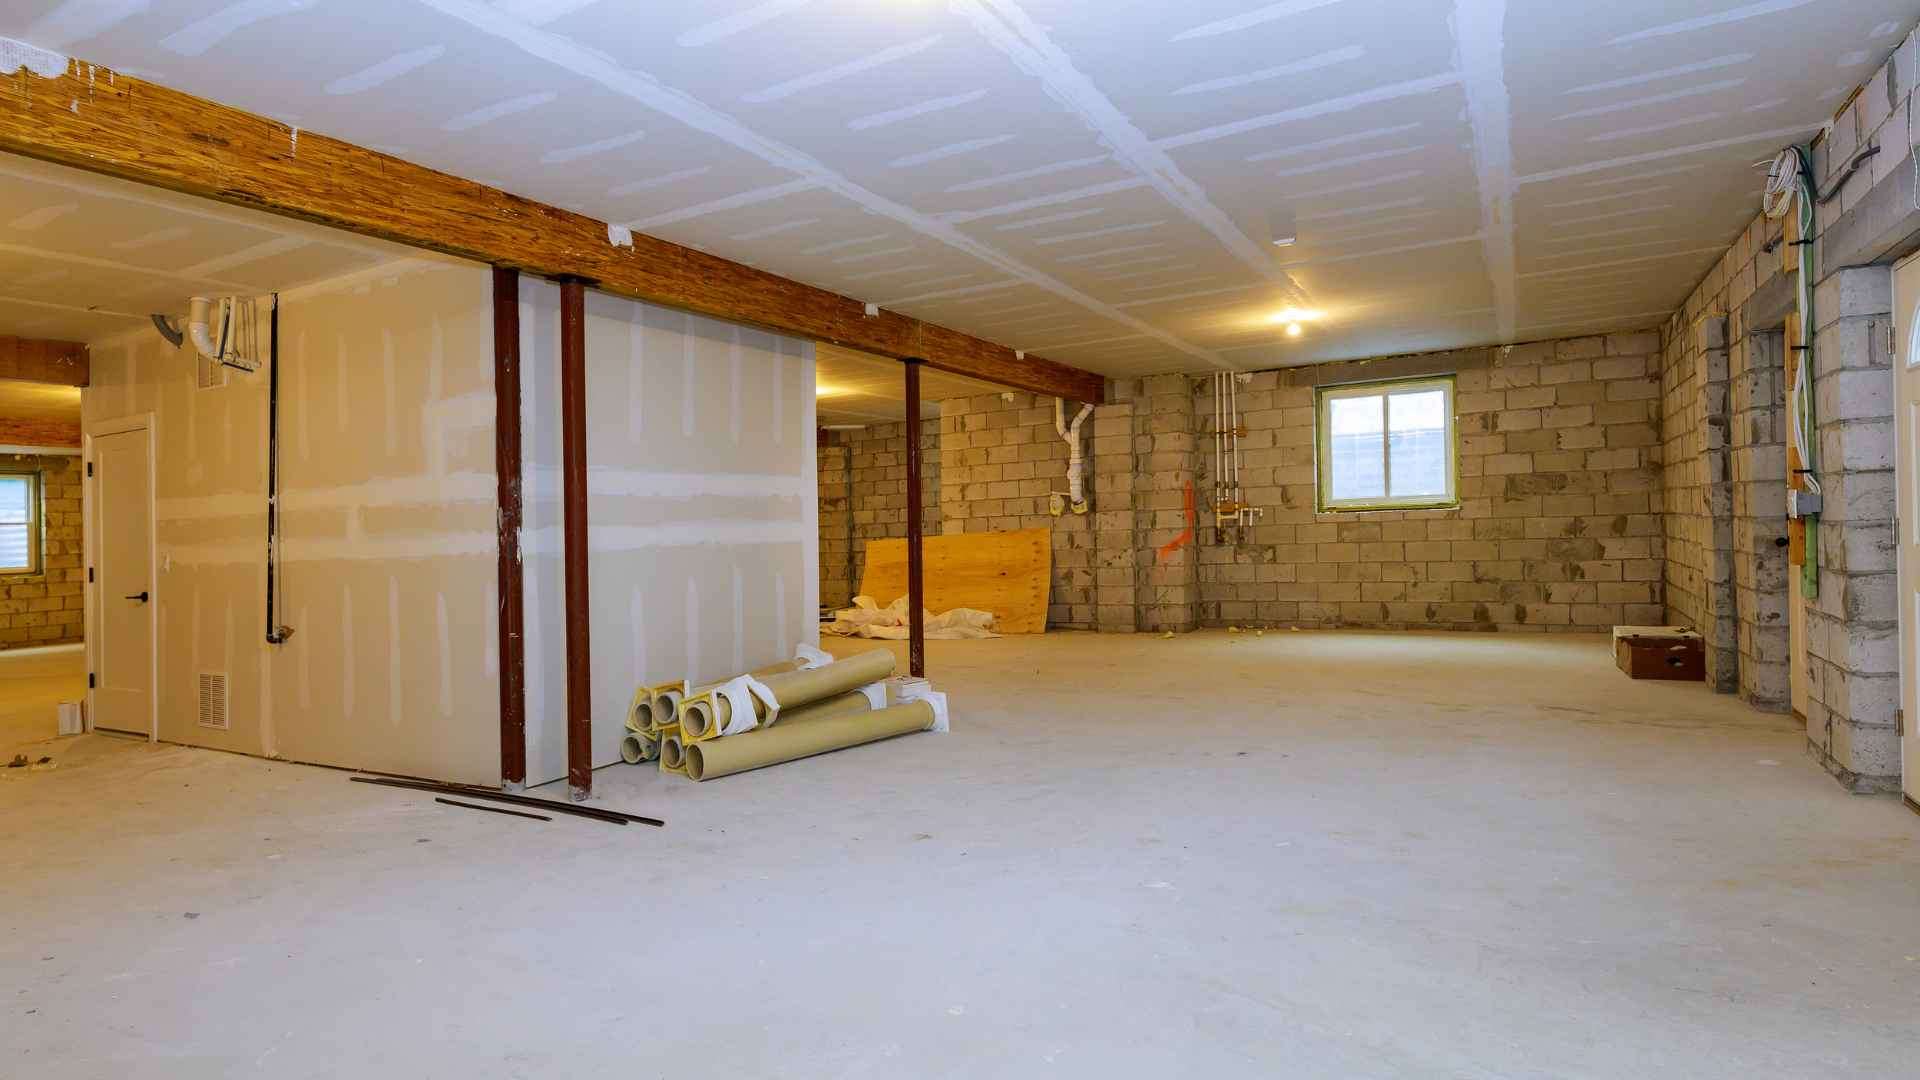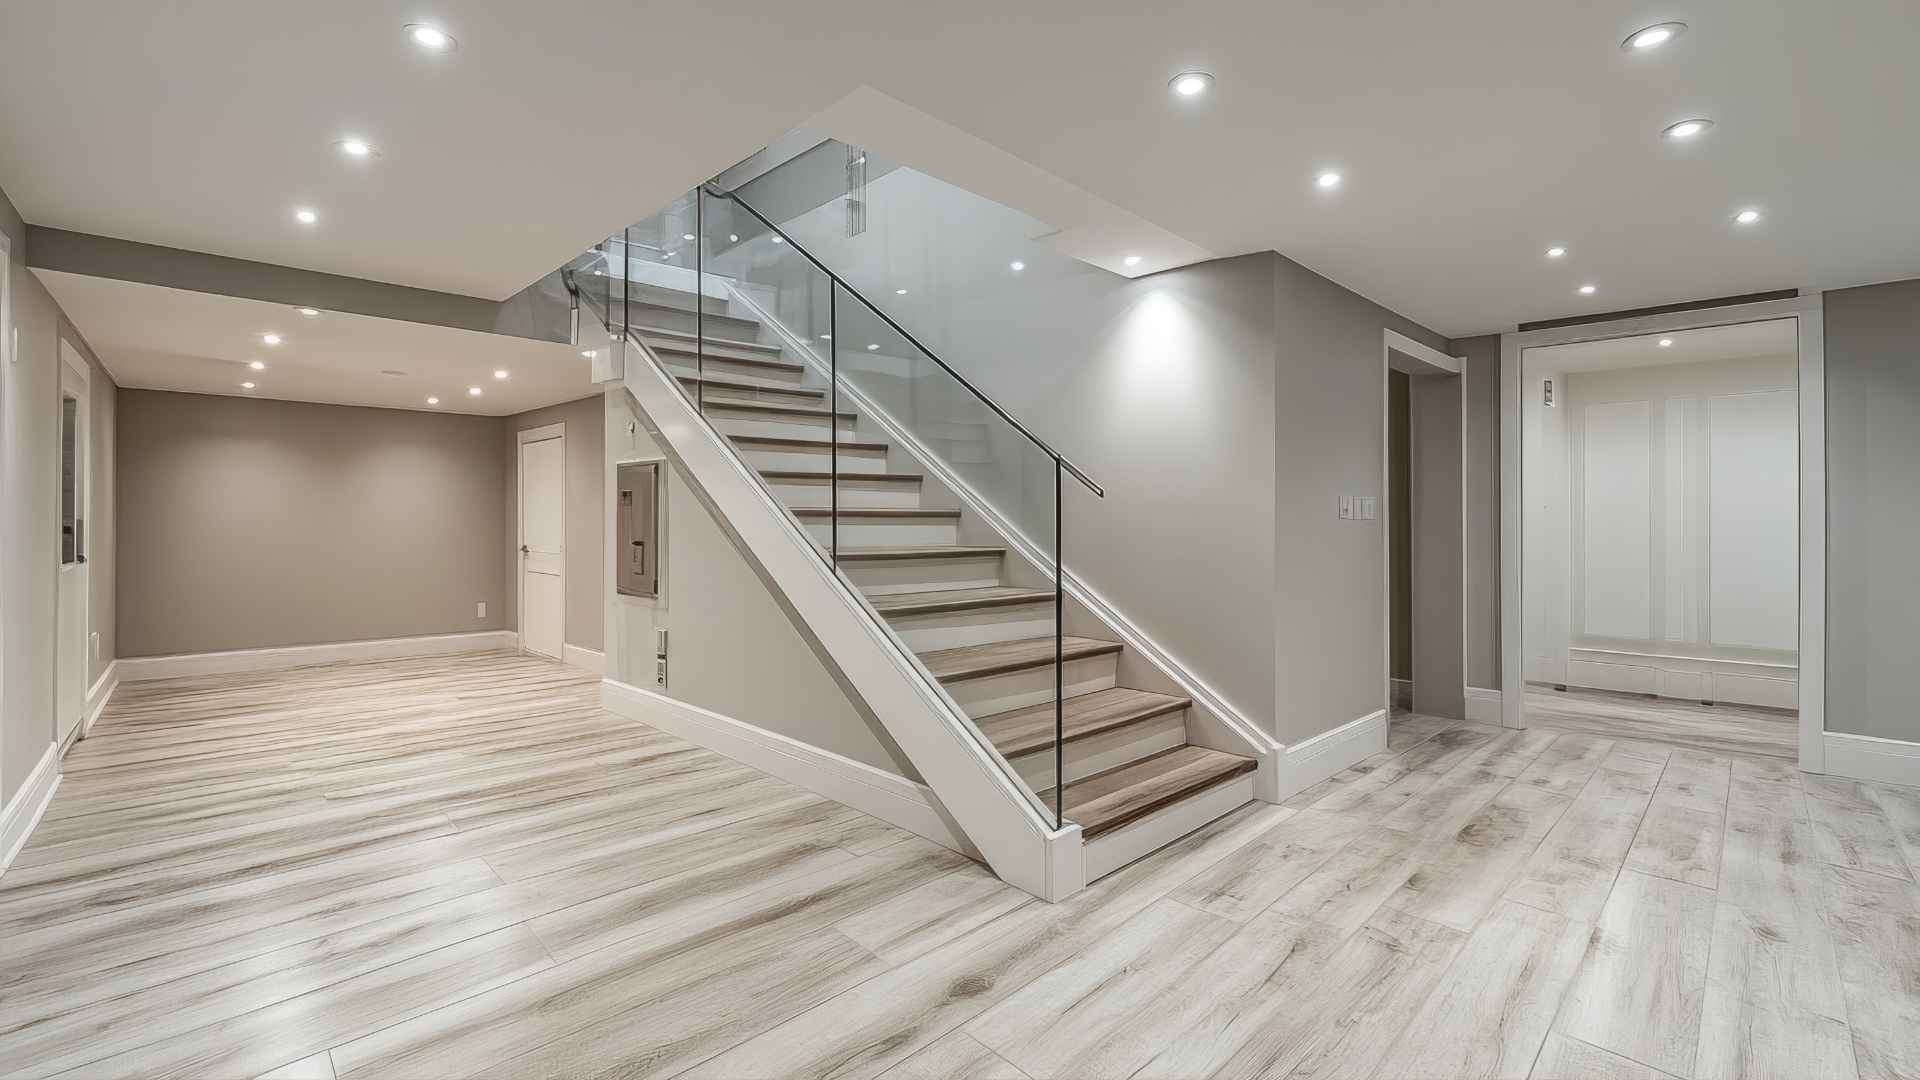

Moisture control in a finished basement must begin long before the first sheet of drywall is installed. Skipping this step simply hides moisture issues behind your new walls instead of eliminating them. Below is a proven approach gathered from more than 16 years of work in Media, PA, and the broader Delaware County region.
- Keep indoor humidity down with a dehumidifier (aim for 50 % relative humidity)
- Track moisture levels using a hygrometer
- Avoid installing a plastic vapor barrier on interior walls
- Seal all cracks and openings in the concrete first
- Direct exterior water away from the foundation
Table of Contents
Why Finished Basements Are Vulnerable to Moisture
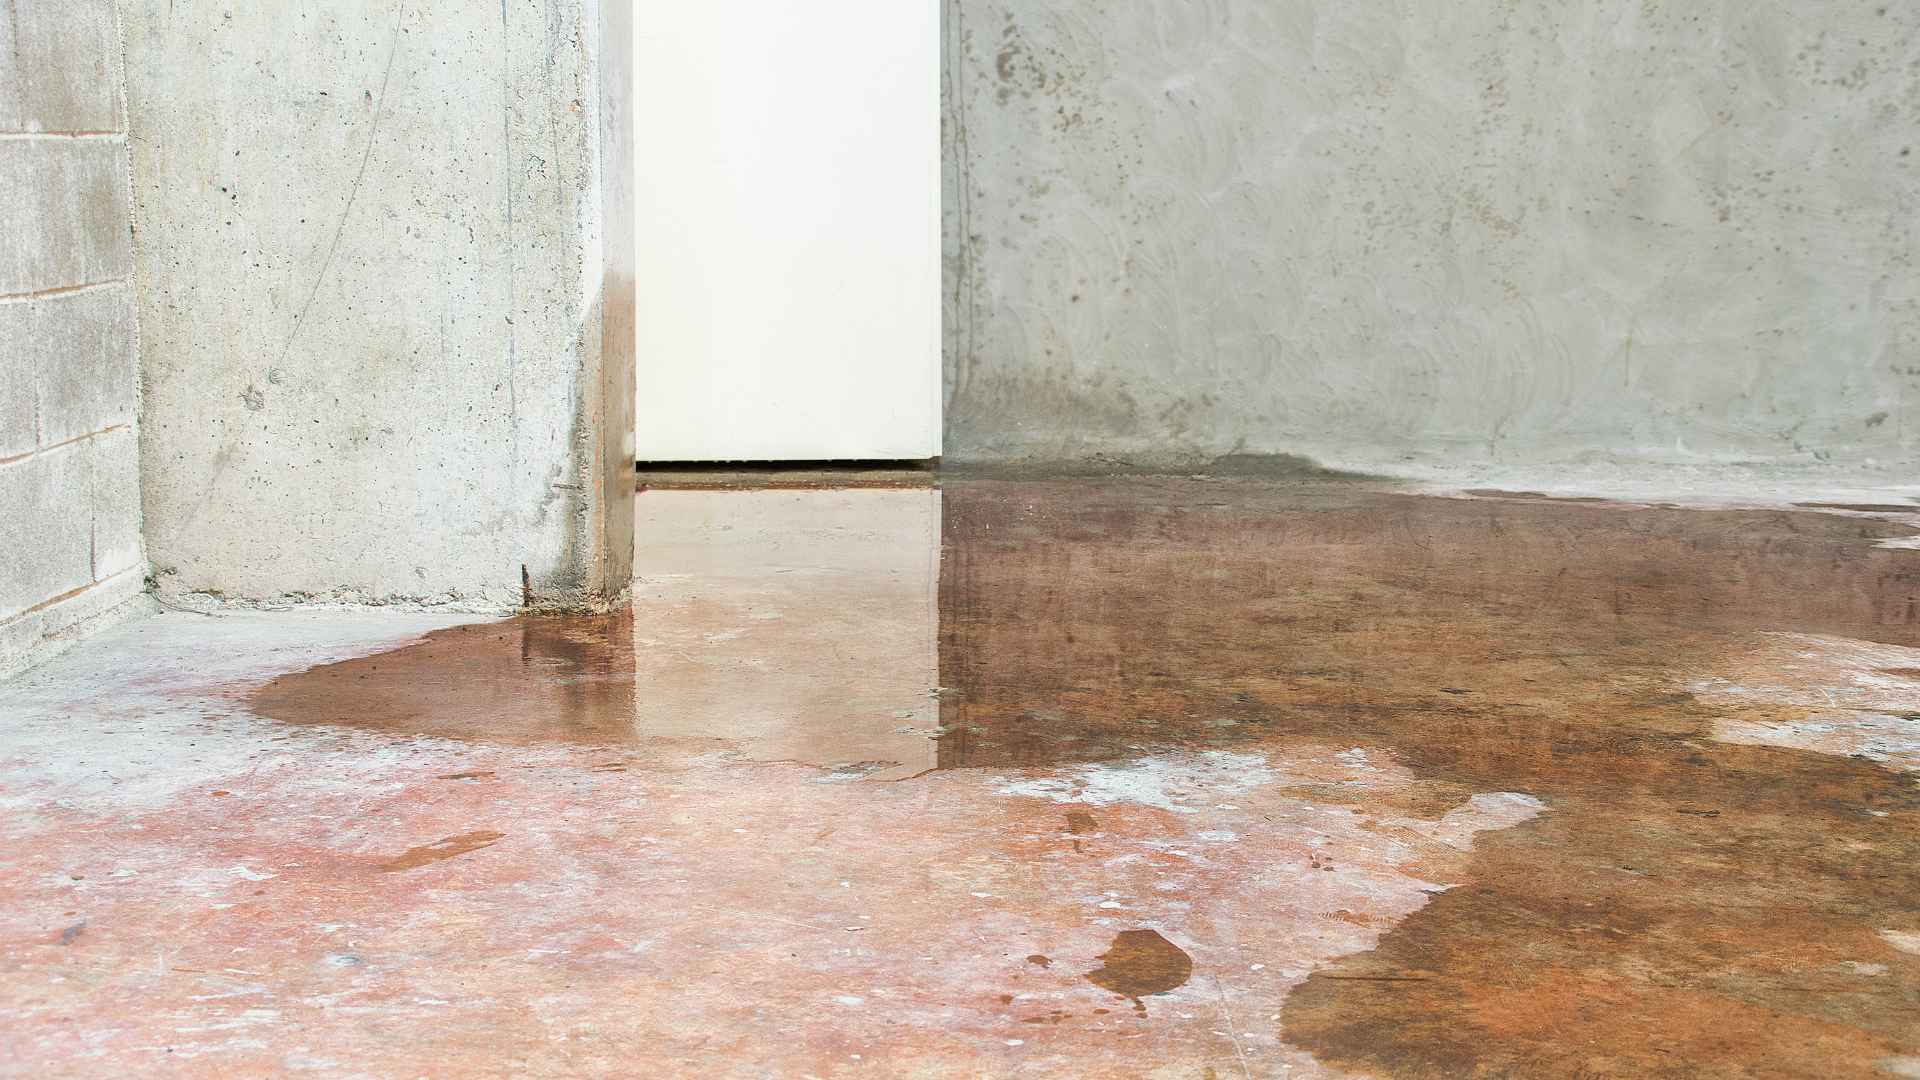
Concrete floors and walls naturally absorb and release water; this is inherent to the material. Finishing a basement without first addressing this property traps moisture inside the new finishes.
Most homes in Media and the surrounding Delaware County towns were constructed between the 1950s and 1980s. Those foundations were built to standards that pre‑date modern moisture‑control techniques. They aren’t faulty foundations; they simply weren’t designed with today’s expectations for water management.
When problems arise, they’re often hidden behind the drywall. Chris Earley, founder of Canopy Building Services, spent 16 years inspecting homes before becoming a contractor. During that time he repeatedly entered finished basements only to discover mold, rot, and failed vapor barriers that the owners were completely unaware of. The damage had already spread behind the finished surfaces, remaining invisible until an odor appeared or the drywall began to soften.
That inspection background informs every basement project we undertake: we search for concealed issues before any construction begins.
Start Outside: Stop Water Before It Reaches the Foundation

No interior solution will work if water is being forced toward the foundation from the outside. Begin with the exterior.
The soil around your house should slope away from the foundation, ideally a drop of about six inches over the first ten feet. If the ground slopes toward the house, rain and meltwater will flow directly to the foundation walls.
Maintain clean gutters and ensure downspouts discharge at least six feet from the structure. A clogged gutter dumps water straight against the foundation each time it rains. Window wells must also drain properly; they should never hold water against the wall.
Delaware County’s heavy clay soils drain poorly. When it rains, water tends to sit near the surface and move laterally toward the path of least resistance; often the foundation. This makes exterior water management especially critical for residents of Media, Newtown Square, Swarthmore, and nearby communities. Getting the outside right isn’t optional; it’s the base upon which every interior measure depends.
Do You Need a Vapor Barrier on Interior Basement Walls?
Applying traditional plastic sheeting to interior basement walls is usually a mistake and ranks among the most common errors we encounter.
Why it fails: concrete retains moisture. When you staple a plastic sheet to the interior side of a concrete wall, the moisture from the concrete becomes trapped between the wall and the plastic, creating an ideal breeding ground for mold that is hidden from view.
A superior strategy is to use rigid foam board or closed‑cell spray foam. Both act as insulation and moisture barrier simultaneously, do not absorb water, and eliminate hidden pockets where moisture could pool. They also outperform fiberglass in thermal performance.
Floor vapor barriers are a separate matter. Under a concrete slab or beneath a subfloor system, a polyethylene sheet can be both appropriate and effective. Wall and floor moisture issues require distinct solutions.
Chris has inspected homes where interior plastic vapor barriers fostered concealed mold colonies behind finished surfaces. Homeowners only became aware when the odor became unbearable. The remediation cost far exceeded the expense of doing it correctly the first time.
How to Lower Moisture Levels in a Finished Basement
A high‑capacity dehumidifier is the most reliable tool for controlling humidity in a finished basement. Place it in a central, open location where air can circulate freely.
Target a relative humidity of 50 %. Above that threshold, the risk of mold rises sharply. A dehumidifier sized correctly for your square footage will keep you safely below this level.
Avoid using a bucket to collect condensate. Instead, run a continuous drain hose to a sump pit or floor drain so the unit can operate uninterrupted, especially during humid summer periods when a bucket can overflow quickly.
Invest in a hygrometer to monitor the actual humidity reading. These devices are inexpensive and widely available; they give you concrete data rather than assumptions.
Operate the dehumidifier year‑round, not just in summer. Winter heating cycles also introduce moisture into the air, and basements stay cooler than the rest of the house, encouraging condensation on cold surfaces throughout the year.
One often‑overlooked factor: finished walls interrupt airflow and make dehumidifier placement trickier. Decide on the unit’s location and the routing of its drain line before the walls go up. We discuss this with every client prior to framing.
Products That Can Help Absorb Moisture
For an open, occupied basement, a dehumidifier remains the most effective solution. No other product matches its capacity.
Chemical absorbers such as calcium chloride can be useful in confined, low‑airflow spaces: closets, crawl spaces, or small storage rooms. They are a supplemental aid, not a replacement for mechanical dehumidification.
In a large finished basement, a bag of calcium chloride will be overwhelmed quickly. Use it only where it makes sense and pair it with a dehumidifier for the main living area.
Calcium chloride packets are readily available at home‑improvement stores, inexpensive, and easy to replace. Just don’t expect them to handle the bulk of the moisture load on their own.
Insulation Options That Aid (or Hinder) Moisture Control
Fiberglass batts should never be installed against concrete basement walls. They soak up water, retain it, and eventually become a source of mold and foul odors, while also losing insulating value when wet.
The proper choices for basement walls are rigid foam board or closed‑cell spray foam. Both resist moisture, provide solid insulation, and can be applied directly to concrete without creating water traps. Rigid foam board is typically the budget‑friendly option, whereas closed‑cell spray foam excels in irregular cavities and around penetrations.
Flooring matters as well. Carpeting over a concrete slab invites moisture problems; fibers and padding hold water and foster mold without obvious warning signs. Luxury vinyl plank (LVP) or tile are far superior for basements: they tolerate moisture, are easy to clean, and endure over time.
On each Media‑area project we review insulation alternatives with the homeowner, taking into account foundation type, budget, and existing moisture conditions. There is no one‑size‑fits‑all answer, but fiberglass against concrete is always the wrong choice.
Warning Signs That Your Finished Basement Already Has Moisture Issues
- Efflorescence: White, powdery deposits on walls indicate water moving through concrete and depositing minerals. While not mold, it signals moisture migration.
- Persistent musty odor: A lingering mildew smell means mold is already present somewhere in the space.
- Bubbling or peeling paint, soft or warped drywall near the floor, dark spots or visible mold: These symptoms usually appear at the base of walls where moisture accumulates first.
The hardest part of a finished basement is that the most serious damage often lies behind the finishes. Chris’s inspection background enables him to spot these clues early, before homeowners dismiss them as “old‑house smells” or minor repairs. By the time the problem becomes visible, it is usually extensive.
If any of these signs appear, locate and eliminate the moisture source before repairing or refinishing. Covering an active water problem only makes it worse.
Planning Your Basement Finish Correctly
Getting moisture control right from the outset can save thousands of dollars in future repairs. Remediating mold and replacing damaged insulation after a basement is finished is far more disruptive (and costly than addressing the issue before the walls go up.
Canopy Building Services assists Media, PA homeowners in completing basements without moisture headaches.
Canopy’s Moisture‑Prevention Process for Finished Basements
Before a single stud is erected, we follow a detailed sequence to evaluate and mitigate moisture risks:
- Foundation inspection: Examine concrete walls, floor, and wall bases for cracks, seepage, or signs of prior water intrusion. Fresh paint can conceal many problems.
- Exterior drainage correction: Resolve grading, gutter, or downspout issues first. If the site’s water management works against the foundation, we address those fixes before any interior work begins.
- Seal concrete surfaces: Apply penetrating concrete sealers to walls and floor to reduce moisture transmission. This complements, not replaces, proper drainage solutions.
- Select appropriate insulation: No fiberglass against concrete. Depending on the space, foundation type, and project scope, we install rigid foam board or closed‑cell spray foam.
- Plan dehumidifier location and drainage: Determine where the unit will sit, how the drain line will run, and whether a floor drain is accessible before walls close in. Once the framing is up, options become limited.
Chris’s inspector mindset means we treat each basement like an inspection, searching for hidden issues before they become concealed. This habit has prevented costly surprises for our clients.
Older homes in Media and across Delaware County often feature stone or early‑block foundations with irregular seams and additional moisture entry points. We give extra attention to sealing and inspection for these structures, integrating it into our standard process.
FAQs
How can I tell if my Media, PA basement is ready for finishing?
The space should stay dry for at least a full year, showing no active seepage, historic water intrusion, or foundation cracks. Inspect it through multiple seasons: after heavy rain and during spring melt. Look for efflorescence, stains, or soft spots on the slab. Any of these signs mean the moisture source must be addressed before proceeding.
Can I keep the existing insulation when I finish my basement walls?
It depends on the type and condition. Fiberglass batts against concrete must be removed because they absorb water and may already harbor mold. Rigid foam board can stay if it’s dry, intact, and properly installed. When in doubt, cut out a section and examine the concrete behind it.
How often should a dehumidifier run in a finished basement?
For most Delaware County homes, run it year‑round. Summer brings the highest humidity, but winter heating cycles also push moisture into the air, and the cooler basement encourages condensation. Continuous operation, monitored with a hygrometer, keeps humidity under control in every season.
Will finishing my basement worsen existing moisture problems?
Yes. Adding walls and flooring over an active water issue traps moisture that previously had a way out. Minor seepage can evolve into hidden mold behind drywall, and a damp slab can become a breeding ground beneath carpet. Resolve the source completely before any finishing work begins.
What flooring works best in a basement that sees some moisture?
Luxury vinyl plank or tile are the top choices. Both tolerate moisture, are easy to maintain, and resist warping or mold growth. Avoid carpet and solid hardwood directly on concrete. If you desire a warmer feel, a floating subfloor beneath LVP can add comfort without trapping moisture like carpet does.
Does a finished basement need a sump pump if it’s never flooded?
Not mandatory, but highly advisable in Delaware County’s clay‑soil environment. Clay retains surface water and pushes it toward foundations during heavy rain. Even if your basement has never flooded, that doesn’t guarantee it won’t in the future. Discuss site conditions and foundation type with your contractor; installing a sump pit and pump before walls and floors go up is far easier and cheaper than retrofitting later.
Ready to Finish Your Basement the Right Way?
Moisture prevention isn’t complicated, but the steps must be performed in the correct order. Miss a single step and you’re building on an unstable foundation, both literally and figuratively.
Canopy Building Services partners with homeowners throughout Media, PA, and Delaware County, applying an inspector’s eye to every basement project and integrating moisture control before the first wall is erected.
Contact us for a free project consultation. Visit our basement‑finishing Media page for more details, or call us directly. Our office is located at 1215 W. Baltimore Pike, STE 3, and we serve the entire Media and Delaware County region.